利用 Flask 所建構的 Web 應用(Application)能夠透過 Werkzeug WSGI Application Profiler 很輕鬆地進行效能分析。
本文記錄如何結合 Werkzeug WSGI Application Profiler 對 Flask Web 應用進行效能分析。
本文環境
- Python 3.6.5
- Flask 1.0.2
Werkzeug WSGI Application Profiler
Werkzeug WSGI Application Profiler 是 Werkzeug 提供用來測量 WSGI Application 效能的模組,該模組中提供 1 個類別 ProfilerMiddleware ,能夠透過 Middleware 的方式將 WSGI Application 包裝起來,以從中測量效能。
首先,假設有個簡單地 Flask Application (檔名 app.py ) 如下:
# - coding: utf-8 -*-
from flask import Flask

def create_app():
    flask_app = Flask(__name__)
    return flask_app

app = create_app()

@app.route('/', methods=['GET'])
def index():
    sum = 0
    for i in range(1, 1000):
        sum += i
    return f'1 + ... + 999 = {sum}'
接著改寫 create_app 函式的部分,整合 ProfilerMiddleware 。
# - coding: utf-8 -*-
import os

from flask import Flask
from werkzeug.contrib.profiler import ProfilerMiddleware


def create_app():
    flask_app = Flask(__name__)
    profile_dir = os.path.join(os.getcwd(), 'pstat_files')
    try:
        os.makedirs(profile_dir)
    except FileExistsError:
        pass
    # doc: http://werkzeug.pocoo.org/docs/0.14/contrib/profiler/
    flask_app.wsgi_app = ProfilerMiddleware(flask_app.wsgi_app, profile_dir=profile_dir)
    return flask_app

app = create_app()

@app.route('/', methods=['GET'])
def index():
    sum = 0
    for i in range(1, 1000):
        sum += i
    return f'1 + ... + 999 = {sum}'
上述改寫的部分主要為了:
- 建立 1 個
pstat_files資料夾存放ProfilerMiddleware所輸出的檔案 - 將原有的
flask_app.wsgi_app以ProfilerMiddleware再次包裝,同時指定profile_dir資料夾存放測量結果的檔案,也就是上述第 1 步所建立的資料夾
如此就完成 Werkzeug WSGI Application Profiler 的整合囉。
實測 Profiler
接著使用以下指令將 Flask Web 應用啟動,並以瀏覽器打開 http://127.0.0.1:5000 以實測 Profiler 的運作:
$ env FLASK_APP=app.py flask run
執行結果:
 * Forcing debug mode off
 * Serving Flask app "app.py"
 * Environment: production
   WARNING: Do not use the development server in a production environment.
   Use a production WSGI server instead.
 * Debug mode: off
 * Running on http://127.0.0.1:5000/ (Press CTRL+C to quit)
127.0.0.1 - - [13/Jan/2019 20:50:24] "GET / HTTP/1.1" 200 -
127.0.0.1 - - [13/Jan/2019 20:50:24] "GET /favicon.ico HTTP/1.1" 404
再來進入 pstat_files 資料夾查看是否有測量結果的檔案:
$ cd pstat_files
$ ls
GET.favicon.ico.000000ms.1547383824.prof GET.root.000001ms.1547383824.prof
可以發現多 2 個檔案,從檔名可以看到分別對應到 "GET / HTTP/1.1" 與 "GET /favicon.ico HTTP/1.1" 這 2 個 requests 。
這些檔案是由 Python cProfile 模組所輸出的檔案,因此可以用 pstats 進行解析。
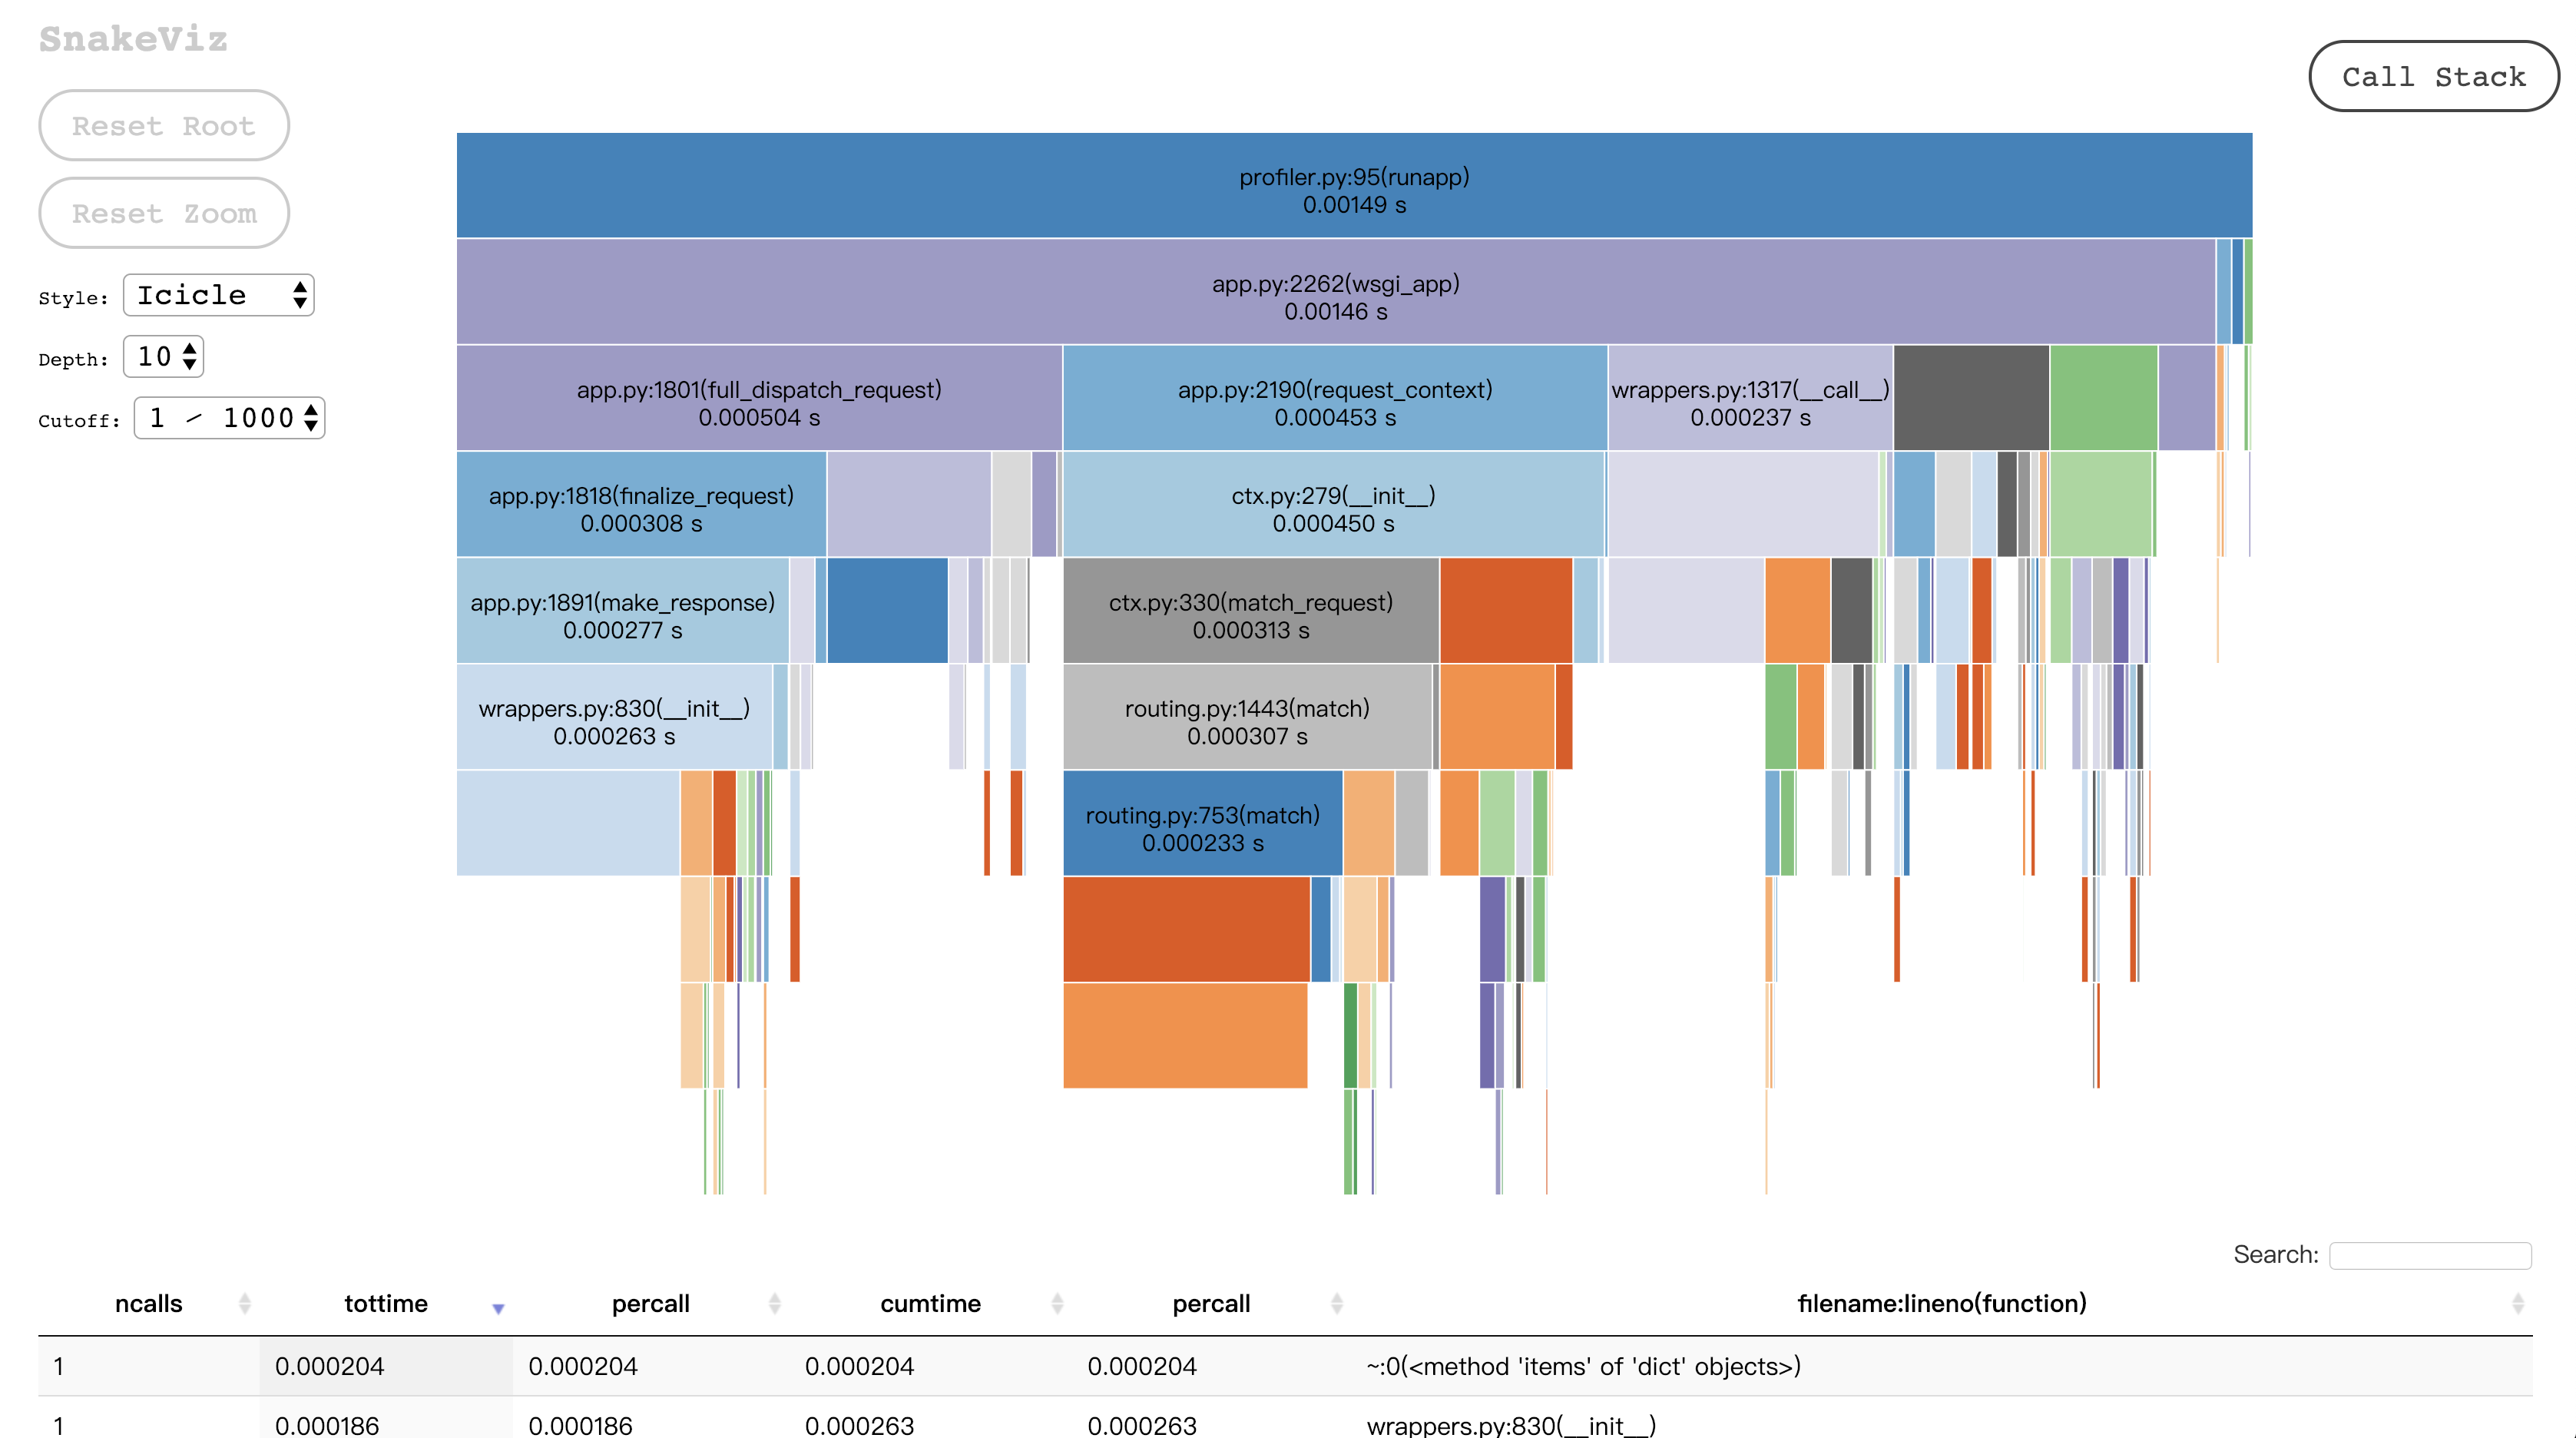
除了利用 pstats 進行解析,也可以選擇利用工具進行解讀,例如 SNAKEVIZ 利用視覺化協助我們分析。
安裝 SNAKEVIZ 的指令:
$ pip install snakeviz
安裝完成後,試著使用以下指令讀取 GET.root.000001ms.1547383824.prof :
$ snakeviz GET.root.000001ms.1547383824.prof

以上就是如何 Profiling Flask Web Application 的紀錄, Happy Coding !
番外篇
除了 SNAKEVIZ 之外, qcachegrind 也是值得一試的一款工具,不過使用 qcachegrind 前,須先透過 pyprof2calltree 將 .prof 檔轉成 qcachegrind 能夠讀取的檔案格式:
$ pip install pyprof2calltree
$ pyprof2calltree -i GET.root.000001ms.1547383824.prof -o profile.kgrind
$ qcachegrind profile.kgrind
Reference
http://werkzeug.pocoo.org/docs/0.14/contrib/profiler/